Gallery
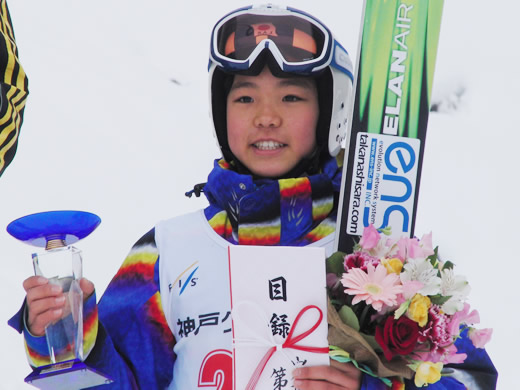
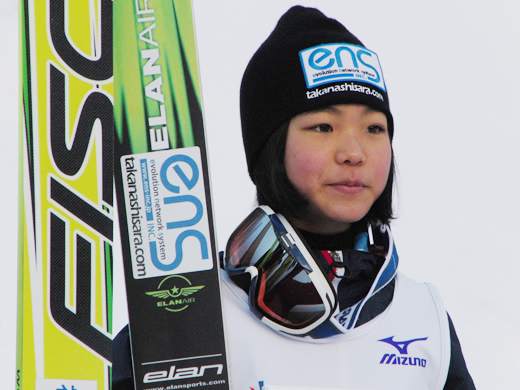
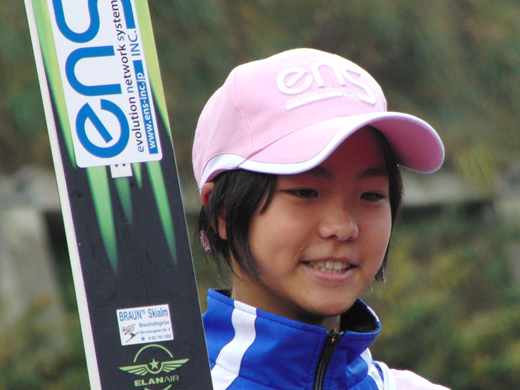
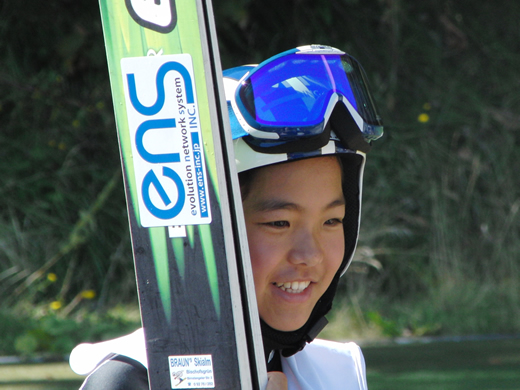
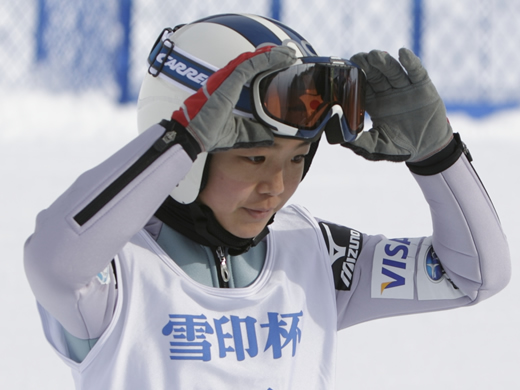
01 Photo by Yasuyuki Ohashi
Comment
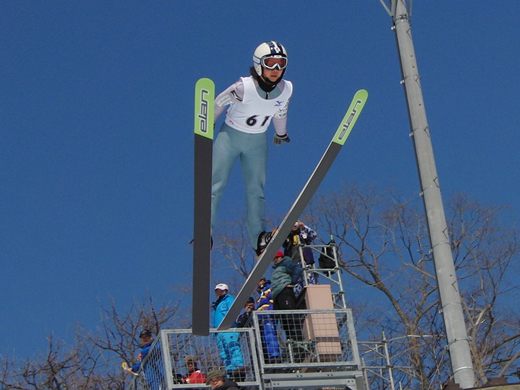
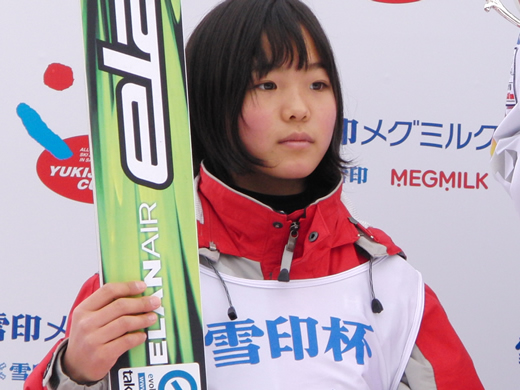
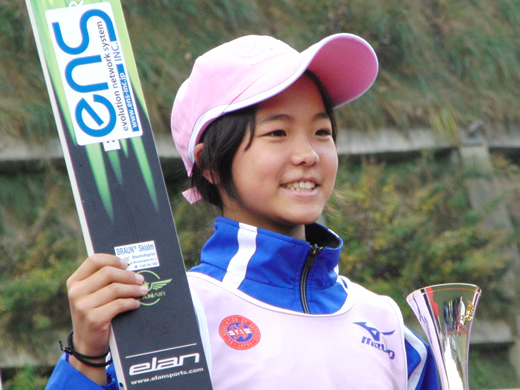
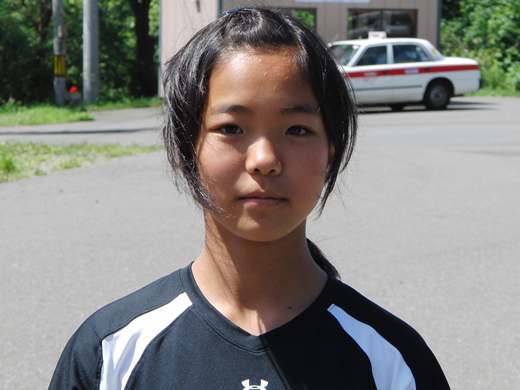
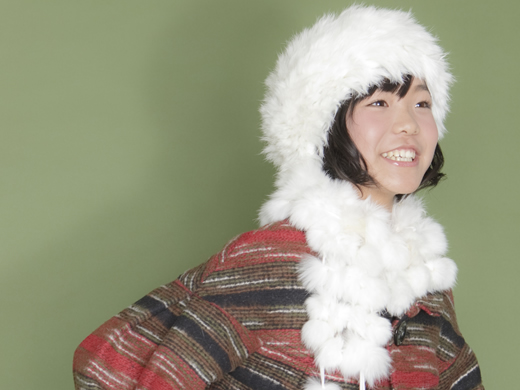
02 Photo by Yasuyuki Ohashi
Comment
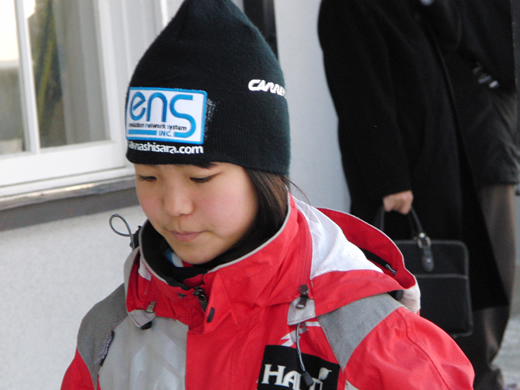
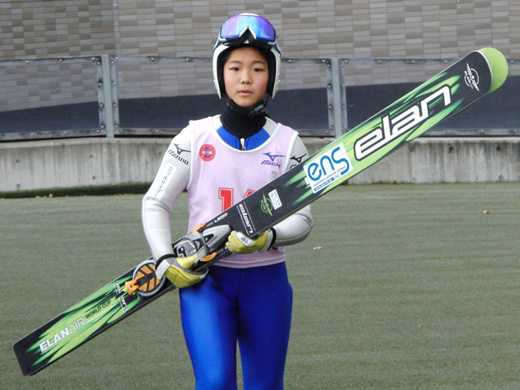
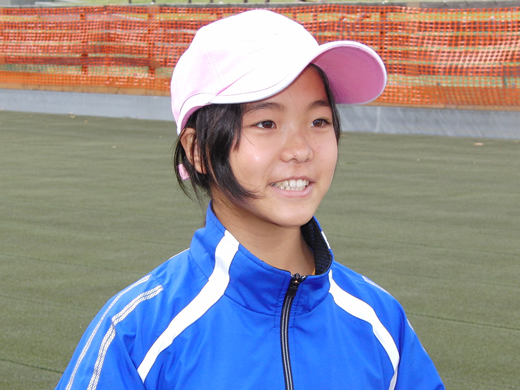
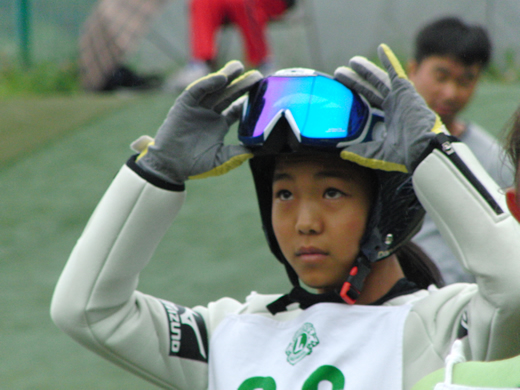
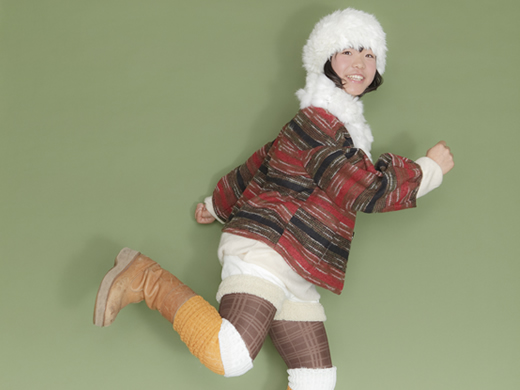
03 Photo by Yasuyuki Ohashi
Comment
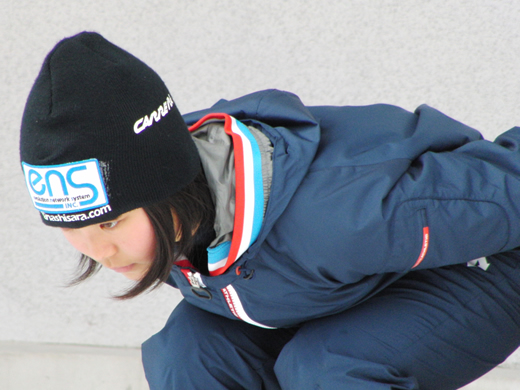
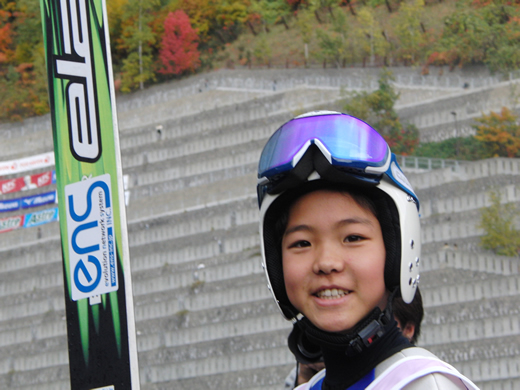
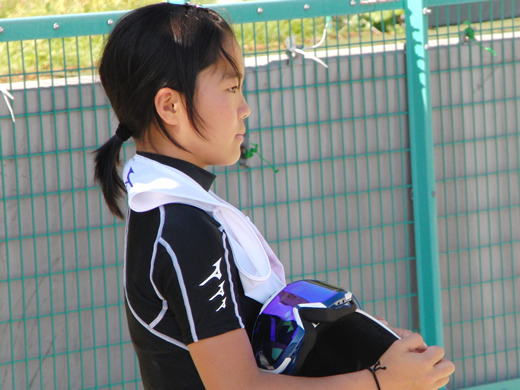
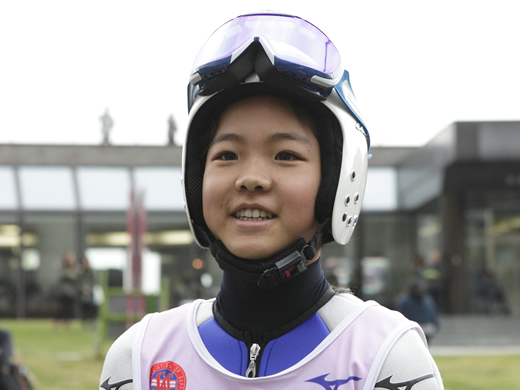
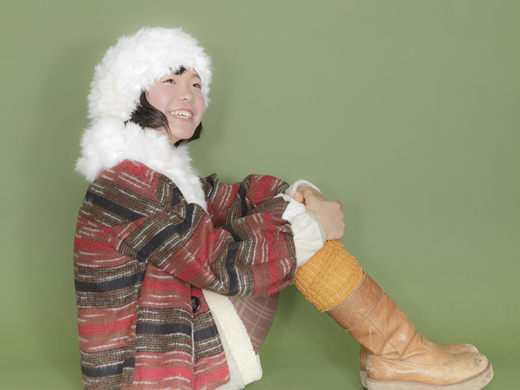
04 Photo by Yasuyuki Ohashi
Comment
05 Photo by Yasuyuki Ohashi
Comment
06 Photo by Yasuyuki Ohashi
Comment
07 Photo by Yasuyuki Ohashi
Comment
08 Photo by Yasuyuki Ohashi
Comment

09 Photo by Yasuyuki Ohashi
Comment
10 Photo by Yasuyuki Ohashi
Comment